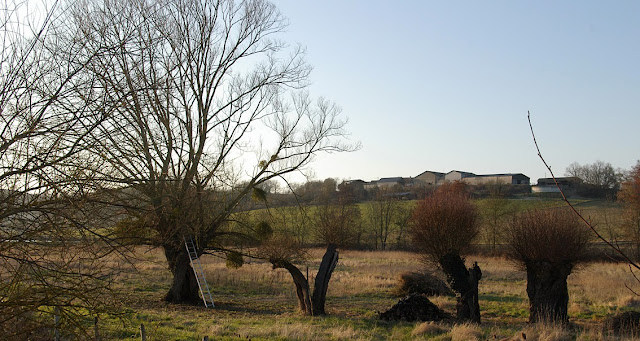
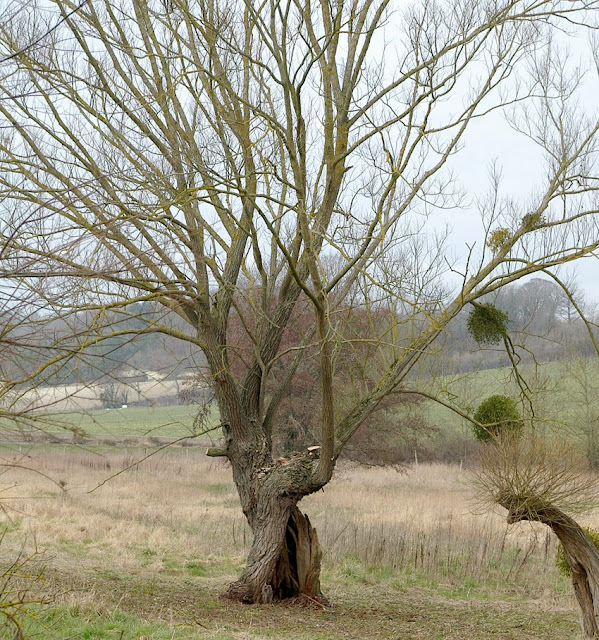
We had a break from the felling routine in 2009 and did some planting [as before] and some fencing.
The fencing was needed to define the boundary between our property and the neighbouring field...
the original fence was very 'tired' and in places...
completely missing [having, in our absence, been driven straight through by a digger!!]
The fencing was done in two stages...
when Stuart was here, in March, we aimed to get the posts in place and the strainers fixed up with the three carry wires attached and strained.
The strainers were done as "Colonial" two post, rather than the more usual post and a diagonal.
This technique lends itself to rocky soil like ours...
where it is difficult to dig a decent post hole to a good depth.
I've seen the method used quite a lot around here...
so it is not a strange thing to see a double header version at a corner or bend, the central post of three being the 'joint'.
And just recently I've seen a triple upright, double tensioner version over near Chaumussay.
You will see from the picture that a winder is used to tension the frame...
when fixing the stock fence in place, you start to strain up the fence at the second post...
leaving the piece that covers the strainer frame able to be removed as necessary for re-tensioning the fenceline.
All the posts used were reclaimed chestnut ones from other places on the site...
mainly from the bank of the bief.
Stuart and I managed to get both the lines finished and the straining wires in place without much difficulty...
despite using 'second-hand' posts.
When Pauline and I returned in May, we stapled the stock fencing in place on most of the fence line, leaving just two sections that I will be completing in the next couple of weeks...
"honest?".
This entailed rolling out the cattle mesh and crimp-stapling it to the top wire...
before going back down the line and doing the same on the other two...
trying to hold a 22 kilo roll of cattle mesh upright and unroll it at the same time is no joke...
it seems to be very tired and wants to lie down all the time!!
But we got there...
with much shouting and cussing!!
In 2010 we did more planting and started the willow plantation...
March 27, 2012
March 22, 2012
Five old Saules... part four of the saga - 2008
 |
| Making a start... removing the small and dead branches. |
The routine continued... but like last year we had my wife with us, so Stuart and I were able to crack on much quicker, leaving Pauline to cook and clean up after us!
Well, not really...
the third pair of hands actually meant that some of the more difficult tasks were...
"three head, six hand" jobs.
 |
| Lopping the easy branches first to clear the view. |
especially when we hit a big snag...
the last trunk to fall.
It had a twist...
and didn't give any indication of a bias to fall any particular way.
 |
| The last three branches... the last one is the furthest left... with a great big double bend! |
So whilst I stood and looked, and paced around the tree.....
and stood and looked, and paced around the tree.....
and stood and looked, and paced around the tree.....
Pauline kept me supplied with coffee and helped Stuart shift the timber from the first branches that we'd dropped.
Eventually I decided to rope guide the direction of fall.
That meant getting a rope around the trunk as high as possible...
higher than I could get with the ladder.
There was a group of three branches slightly lower than I'd have liked to position the rope...
but they were reachable with a hammer throw.
A strong string attached to the hammer, it was hurled violently upward towards the first branch of the trio...
and my aim was good.
Yes, I hit the branch square on!!
Second try missed it perfectly and the string was over the first...
and by sheer luck, the second.
Fate was sitting up there watching....
and having a good laugh....
I hit the third branch a glancing blow and the hammer fell....
back over the second branch!
Threw it back over the second branch on the third attempt....
and eventually the third!!
The rope was then hauled over and round, a slip hitch tied and it was pulled tight to the tree.
Because I didn't have a winch of any sort, the other end was anchored near the bief...
a metal bar was then "looped" into place about halfway between the two anchor points.
We attached three long butt-ends of the other branches to the rope...
just above the metal bar...
as it took Stuart and I to raise the ends into position whilst Pauline tied them into place...
I would estimate that we had the pulling power of about four people at that point...
but in the form of undamageable logs.
I was cutting from the back of the tree which meant that I was going to be higher up than the bole... this was alright by me...
it meant that I could cut straight through, with just a shallow sapwood cut lower down to stop the bark tearing.
Once felled, I tidied up by doing a second clean cut to finish off.
 |
| A tidy, cleaned up bole and a stack of firewood. The darker wood is a previous years harvest. |
Job's a goodun...
all five trees pollarded [tetardé]
 |
| The view with all the trees pollarded. |
Then, after the last bonfire....
 |
| The smoke from the last bonfire drifts Eastwards across the meadow. |
....it was back to tree planting...
mainly extending the areas we had already worked on...
and getting more young twigs into the tree nursery.
 |
| The view of the nursery area from the kitchen window. |
The row of trees nearest the bief are waiting to be lifted.
There are three trees in the green binbag, waiting to be planted out...
some root loss was unavoidable, but as before...
we compensated by planting deeper.
 |
| The duckboards over the already dug soil can be clearly seen in this shot from the bridge. |
The duckboards allowed us to dig the trees out without us getting bogged down in the soft mud.
Once all the trees were out, new rods were planted behind where you see the duckboards...
in virgin soil...
this is to allow time and tide to refill the 'used' area.
Other small and specimen trees, including some Scarlet Willow...
and a spawn of the Headingly "Original Oak"...
were planted out in the verger.
 |
| The nursery bed in the verger for the smaller and specimen trees. The "Original Oaks" are in the blue-green pot. |
Subscribe to:
Comments (Atom)


